Python REPL Quick Start
The Python Component System (PCS) is a command line interface and Python developer API for building, running, and sharing Python programs.
In this quickstart, we’ll introduce PCS by using it directly in the Python REPL, so let’s install it and write a simple program. Installation is easy, run the following in your shell:
pip install agentos
Writing a trivial program that takes advantage of PCS is also easy. First, open the Python REPL by running the following in your shell:
python
In the example below we first define a very basic class called Adder.
Then we use PCS to track the execution of a method on this class and share the
results:
>>> from pcs import Component
>>> class Adder:
...     def add_one(self, x):
...         return x + 1
...
>>> adder_component = Component.from_class(Adder, instantiate=True)
>>> adder_component.run_with_arg_set('add_one', {'Adder':{'add_one':{'x':1}}})
Let’s break down the example above. First we import one of the core PCS
abstractions: Component. A Component wraps a Python object (in this case
a Python class) and provides facilities for tracking and sharing.
Then we define our Adder class and wrap it in a Component. Finally
we run our Adder.add_one() function in a reproducible and shareable
way by calling run on the component.
That’s it! Using the run method on our Component automatically instruments
our call to Adder.add_one and tracks its inputs and outputs so we can
easily share and reproduce this program execution.
Let’s take a look at what we’ve recorded about our program execution. Exit the Python REPL and then run the following:
mlflow ui
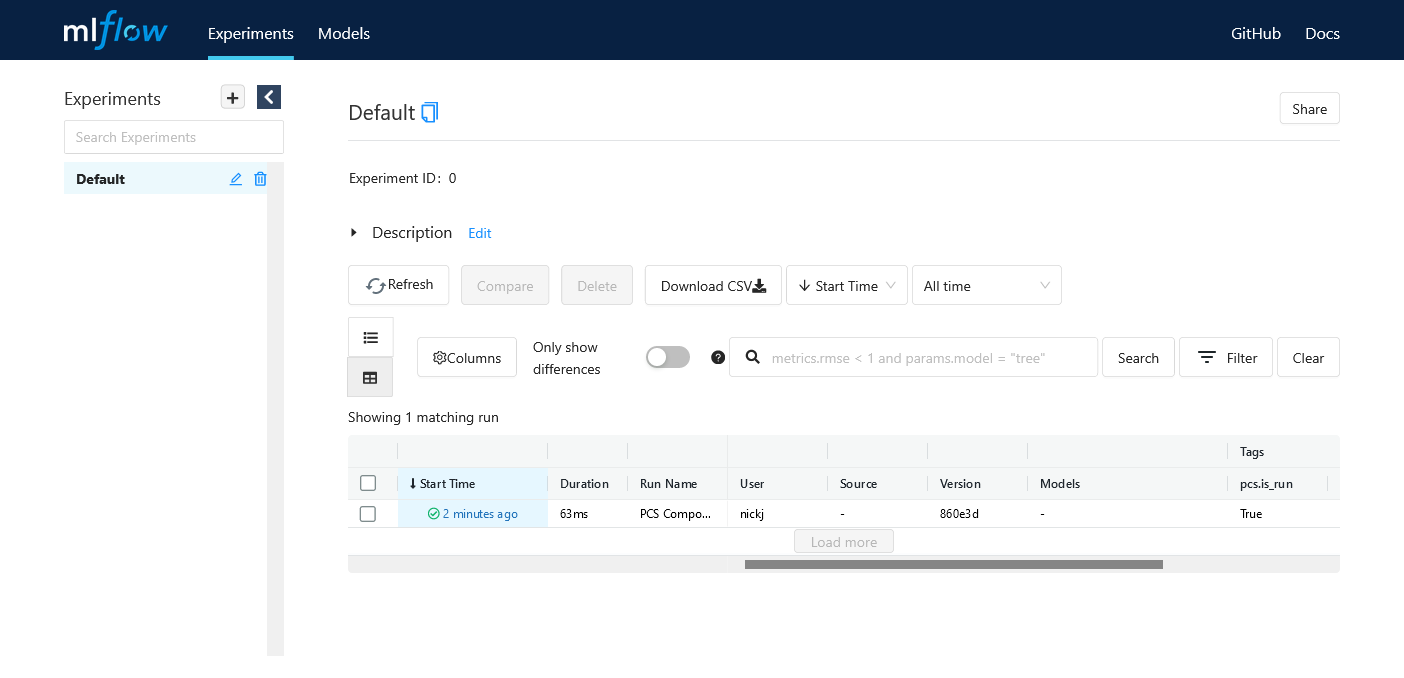
Now navigate to http://127.0.0.1:5000 to see the results of our program execution. First you’ll land on your local MLflow experiment tracking page (PCS uses MLflow under the hood for experiment tracking):

Fig. 1 The MLflow experiment tracking page.
As you can see, we’ve recorded one run (our call to Adder.add_one()).
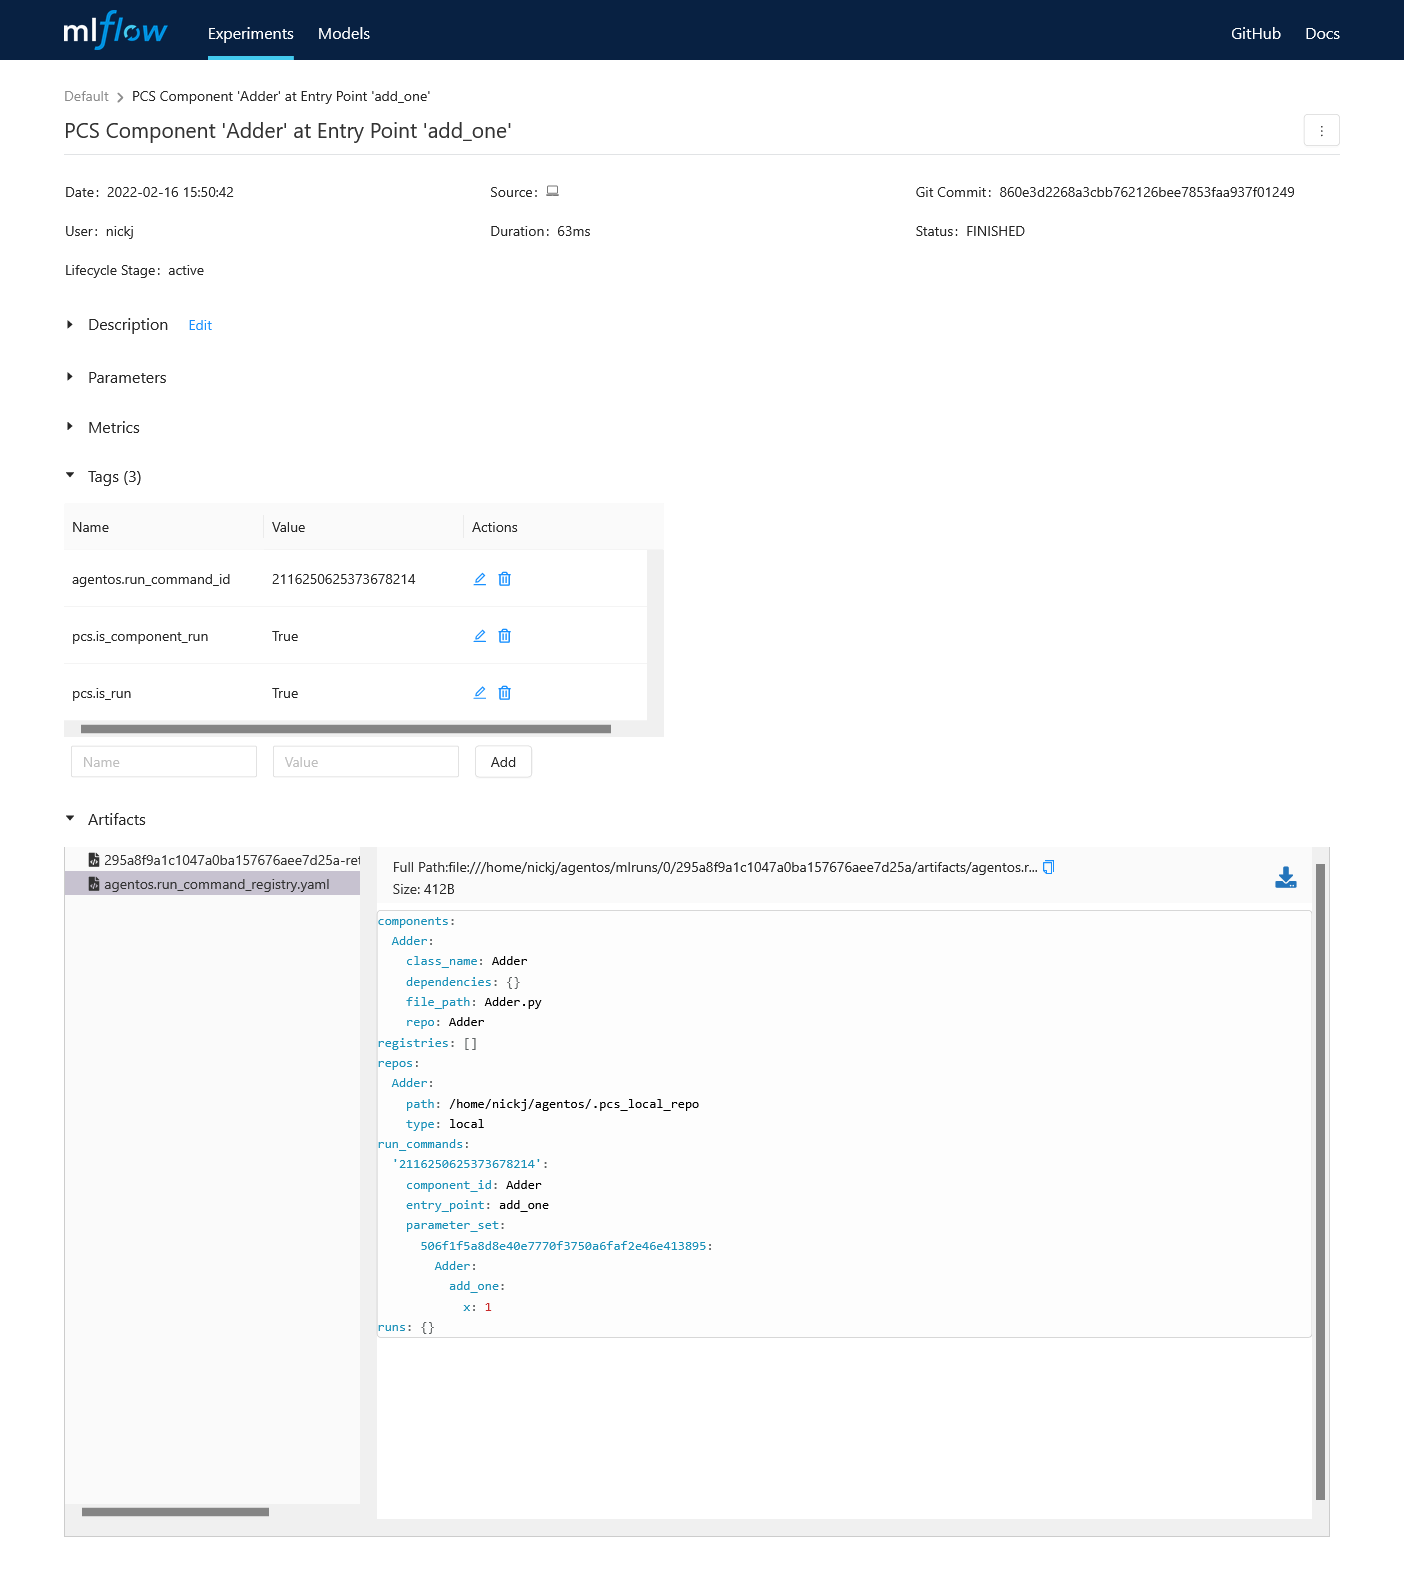
Click the link into the run and you’ll see that we’ve recorded information
about the inputs and command we ran:

Fig. 2 The command we ran to execute our program.
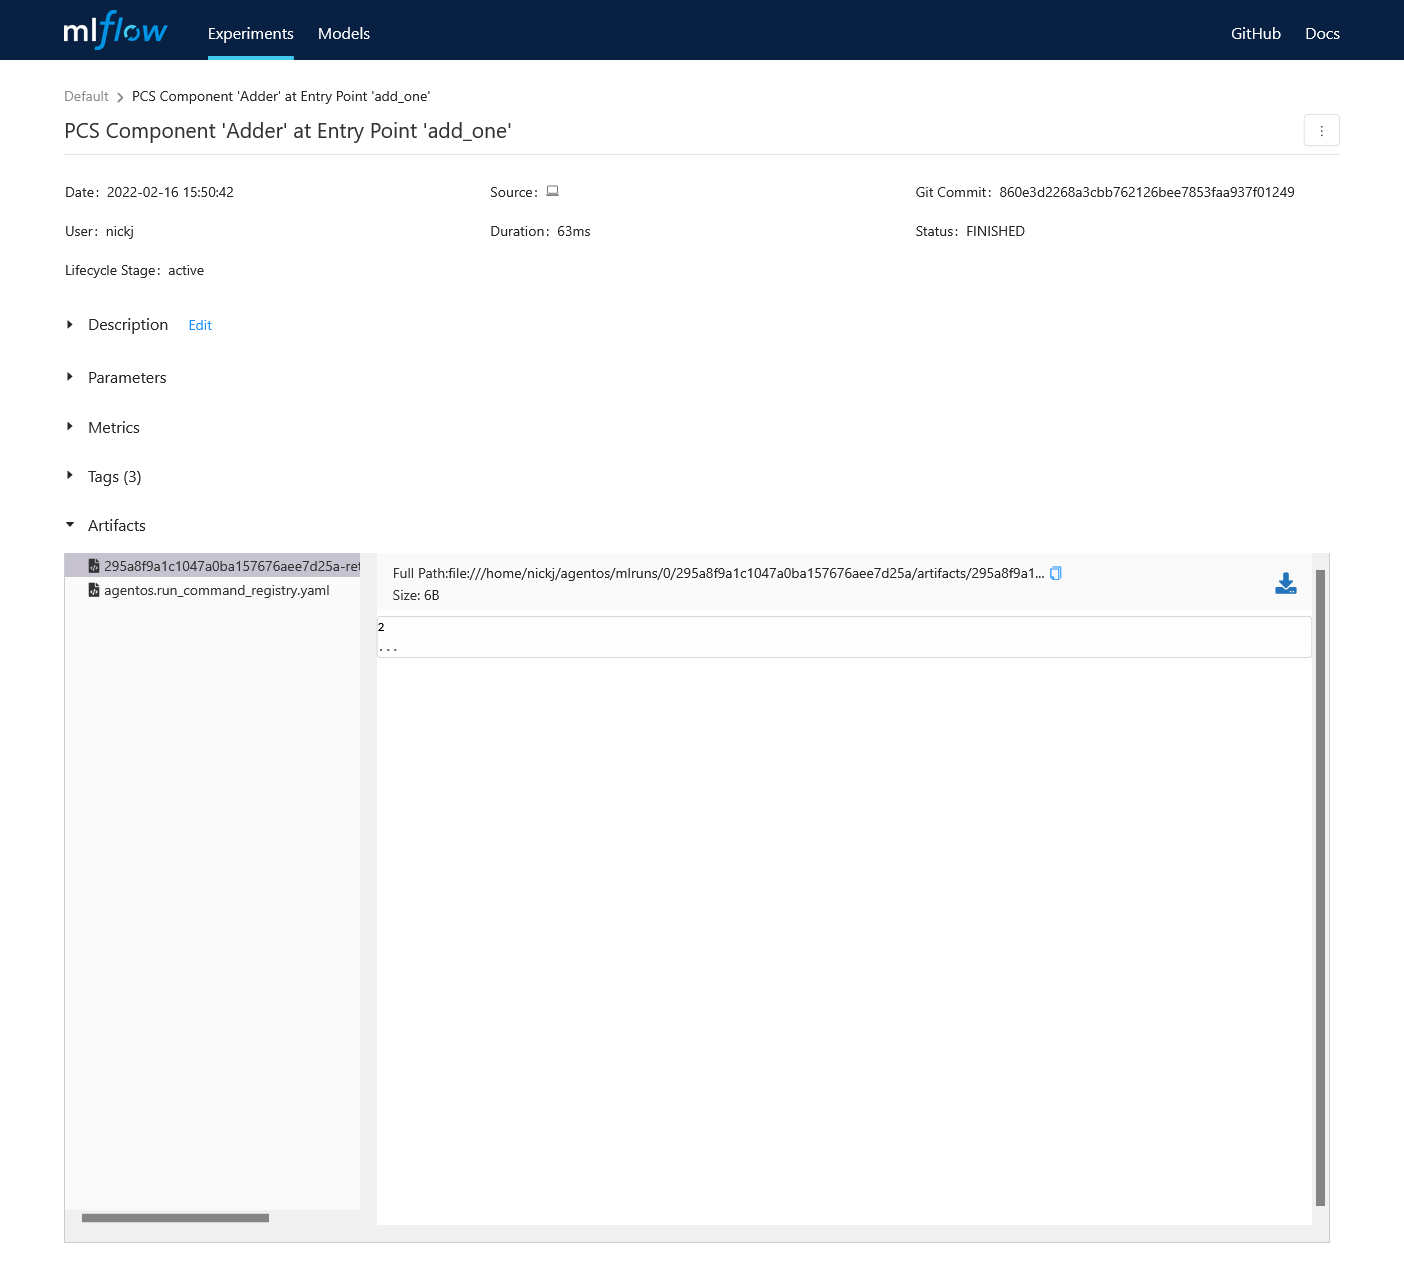
As well as the results from our execution:

Fig. 3 The results of our program execution.
While our Adder.add_one() example was very simple, tracking commands and
arguments can get complex as your program grows. PCS is designed to manage
this complexity in a straightforward and consistent way.
# TODO: sharing